In part two of our four part series on projection mapping, we’ll walk through the details on how projection mapping works, and the steps you should take for a projection project. If you haven’t yet, check out part one in the series which covers the history and definition of projection mapping to get some good background info since we’ll be referring back to some examples that were mentioned in that post.
Step One: Finding the “Right” Environment
Your space can often be very different from an ideal projection environment. While some issues can be worked around using either specific equipment or placement of said equipment, some challenges may be too prohibitive of a projection project, or there may be some issues that you may settle with.
For example, in the Disney Haunted Mansion ride, they encountered some issues. The story that they wanted to portray was that of a psychic’s vision/a message from “beyond”. The floating head that they were mapping onto was inside of the Psychics Crystal Ball (not actually crystal, just a prop designed to look similar). When they projected from outside of the crystal ball, you could see a reflection from the projector. A big part of Disney magic is that it seems like magic and that you can’t figure out how they did something, so you’re left with intrigue and awe. So obviously, a reflection that ruins the illusion was not ideal. But they couldn’t put a massive projector inside of the crystal ball.. So in 1969, they settled for the small glare on the crystal ball. Also, when the actress from the video started speaking and moving her mouth, the mannequin head, obviously did not follow suit. But still, the effect was impressive and innovative for its’ time. They threw in some more props to help complete the full illusion, and designed this part of the ride to be quick. This leaves viewers little time to see the flaws, and gives them a lot of elements to be distracted by. Later on, they added in some more themed lighting to distract from and diminish the projector glare.
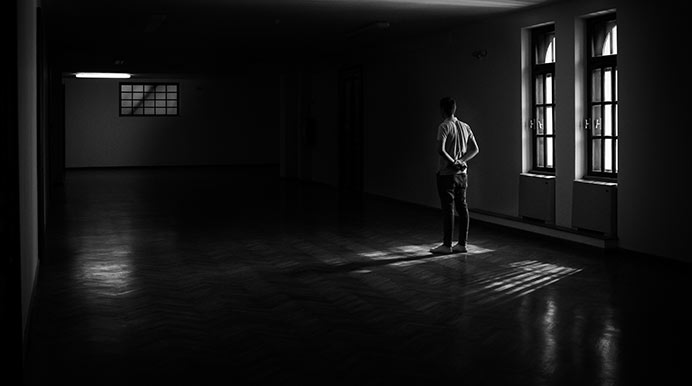
Every environment is going to be different, especially for more creative projects. However, one of the most important aspects of this is the lighting of the room/area. If a room has floor to ceiling windows, it won’t be the best solution because the projector light can be washed out, rendering the projection either faded or completely invisible. Potential workarounds could be curtains, tinting the windows, or getting a brighter projector.
Another big factor is projector placement and obstructions. Having somewhere to place the projector where someone couldn’t get in the way of the projection can be a tough issue to solve. Placing a projector on the floor is often dangerous because it can be tripped over, or stepped on. Also, distance from the object is a huge factor, in terms of gear as it affects the brightness and the type of lens that you may need. Something like an ultra short throw lens can drive up the price as well.
Step Two: Choosing the Object/Surface
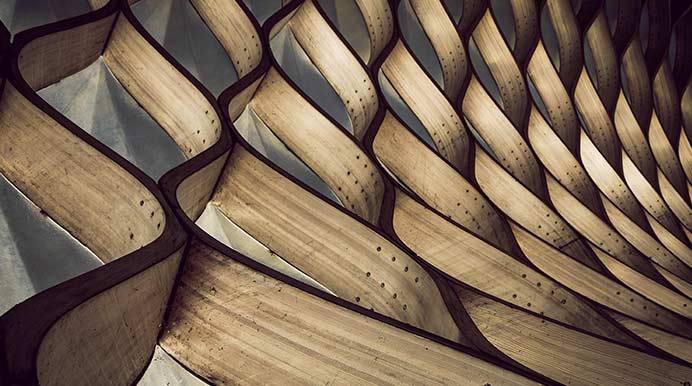
The very obvious beginning of a projection mapping project is to choose what you’ll be projecting on. Depending on the use case and your goals for the project this could be a small sculpture that you fabricate, or it could be as big as say the Sydney Opera House.
The color and material of the object can also play a big role in how the projection will come out. See through surfaces like glass are much harder material to project onto.
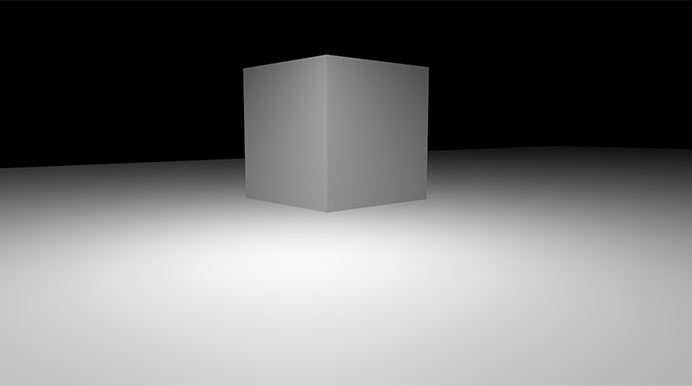
For this example, let’s just say that we’re going to projection map onto a simple cube. We’ll rotate the cube 45 degrees to explain the effect better. This will be our object we’ll be projecting onto throughout this post.
Step Three: Choosing Content
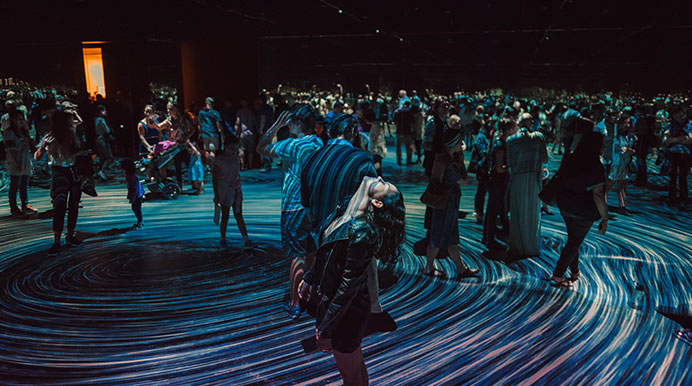
By this point you should already have a pretty decent idea of what you’re wanting to accomplish and what the goal of the piece is. The content can be images, video, live streams, motion graphics, 3D, or whatever else your mind can think of and your heart can desire.
In terms of content requirements such as size and resolution, this can change for each piece depending on it’s size and the hardware that you’re using. Also the length and loop of the projection should be taken into consideration. Make sure you can answer these questions before you jump into content creation:
What will be displayed on the object, and why?
- What’s the goal of the project?
- Will the projection continually loop? Or is it more of a “start and stop” show?
- Will there be multiple versions of the content alternating?
- Will different portions of the object have different content or will the content spread across the entire object?
- Does the projection need to be paired with audio?
We’ll get to actually putting the content onto the cube after one more step…
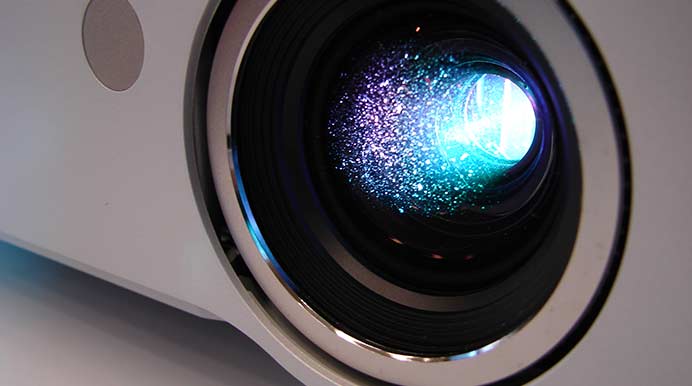
Step Four: Hardware
We always try to approach a project based on the project’s main goals. Money and budgets aren’t bad, and are definitely always a factor, but it’s our belief that we should start a project by engineering the way to get the best end result and value engineer if needed. This allows the content and the result to be the focus and the driver of the project, instead of having the driver be restrictive costs and winding up with a subpar end result. That said, this is why hardware is step number four instead of step number one.
As mentioned earlier, the environment the project is in will have a large role in the kind of gear that you’ll need. Projecting on a small object in a controlled environment is very different than projecting onto a building in a buzzing city.
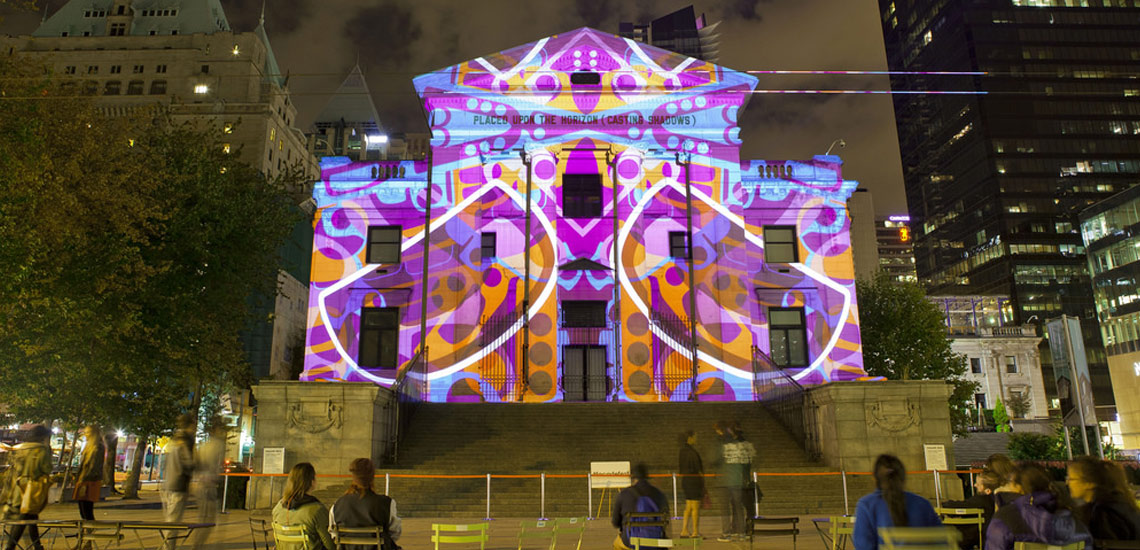
Brighter and larger projectors are needed for larger scale projects such as a building. Multiple projectors may be needed depending on the object and where you’re trying to project. To give you an idea, the Sydney Opera House projection mapping project embedded earlier in this post has 17 large format projectors. Each projector costs six figures, and needs bulbs replaced almost every night according to this.
Don’t let that intimidate you too much. It’s more than likely that you’re not trying to map onto a 238,958 square foot world landmark. If you are- then that’s pretty dope and we definitely want to hear about it.
On top of projectors, you’d need to consider the following pieces of hardware and costs associated:
- Projector lenses
- Projector bulbs
- Projector mounts
- Content Management System
- Any additional requirements, such as audio systems, or interactive capabilities
Step Five: Projection Mapping Your Content
Okay, we’re finally at the part where we’re actually putting content on the object! Congrats for making it this far.
A typical starting point would be to recreate your object in a 3D program. The object’s size and shape has to be ultra precise or else the mapping may be very noticeably off. Once it’s been recreated you have to mask the video elements to that shape. You’ll also need to define the projectors distance and position relative to the object.
Depending on the project you might have to use software such as Madmapper to accurately map the content onto the object. If you’re using multiple projectors you’ll most likely need to mask and blend the content together so that you can get the content will look cohesive as though it’s from one source.
If your object has curves or depth to it, you’ll need to do some warping of the content to get it to look correctly when projected. You can do this within your mapping software.
In the example of the simple cube, we could map one image onto both sides using one projector. Of course, this would depend on the hardware selected, distance, angle, and multiple other factors.
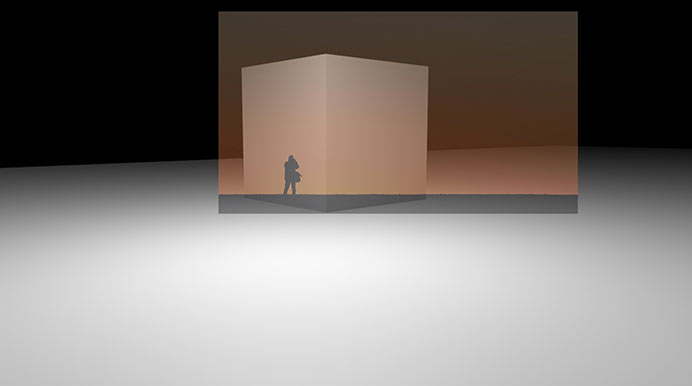
Say that we want to map an image of a silhouette onto the cube. If we projected it from the render view, you would see that the perspective doesn’t line up on either side and the projection would also project onto the environment around it.
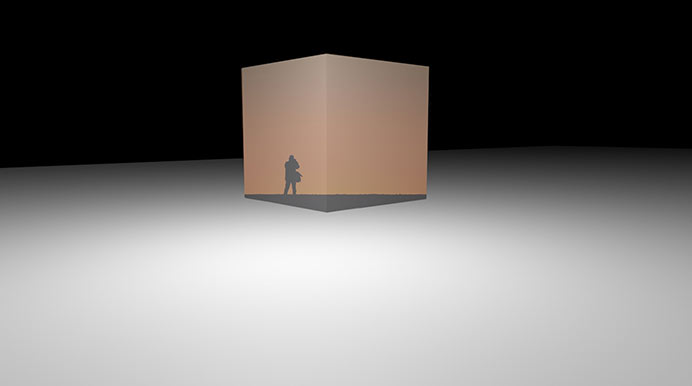
Masking out the overlap from the projection can make a huge difference. While this helps, if you look at the image above, the first thing you’ll notice is that the horizon line is still horizontal to our view and not to the cube.
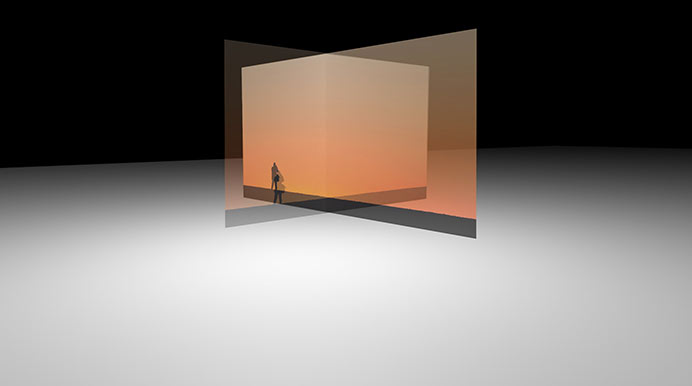
To fix the horizontal line, you might say to use two projectors and shoot each side straight on. This may not be necessary depending on your situation, and if you still don’t mask anything, the projection overlay will occur once again.
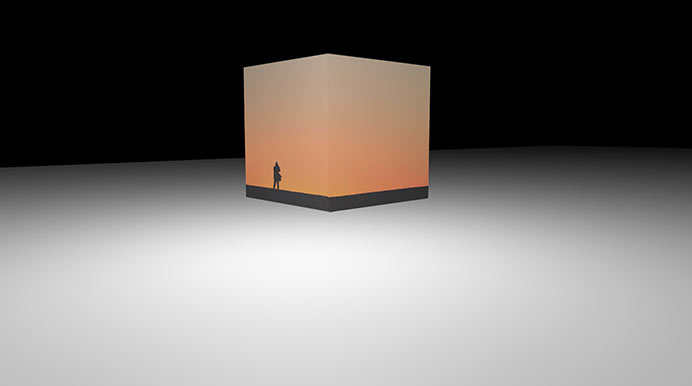
Once you have initially masked the content, there’s normally a decent amount of tweaking and finessing for the alignment to be perfect. Once everything is perfect you’ll just have to have your content infrastructure and presets set up correctly depending on the hardware you’re using.
And now you’ve got a sweet projection mapping!
Did you know we did some projection mapping in heart of Downtown Orlando that one time?
In our next post in our four part series, we’ll go over the pros, cons, and alternatives to projection mapping. Then we’ll cover some use-cases and examples. Keep checking back for more!
If you have any questions on projection mapping, or on the process as a whole, shoot us a message. We’re happy to help!
